


How to Calibrate Your Thermal Scope for Accurate Shooting?
Release Time 2025-02-14

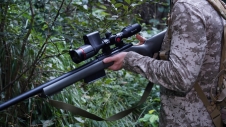
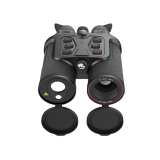
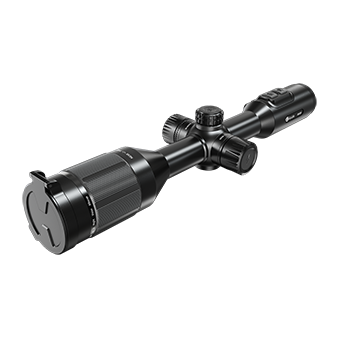
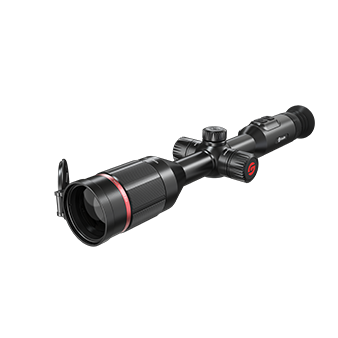
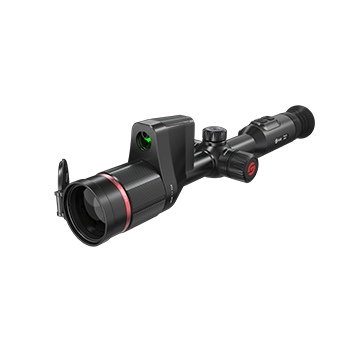
A thermal scope is an essential tool for any serious hunter or marksman, especially when precision is critical in low-light or no-light conditions. By detecting the heat signatures of animals or targets, these devices allow you to see clearly in total darkness, fog, or smoke, offering unparalleled advantages in various environments. However, like any advanced piece of technology, a thermal scope needs to be calibrated correctly for optimal performance. Inaccurate calibration can result in missed shots or improper target identification. In this blog, we will guide you step-by-step on how to calibrate your thermal scope for accurate shooting and ensure your shots land exactly where you want them.
Understanding Thermal Scopes and Calibration
A thermal scope detects infrared radiation (heat) emitted by objects, creating an image based on temperature differences. Unlike traditional scopes that rely on visible light, thermal imaging scopes enable shooters to see targets based on their heat signature, even in complete darkness or challenging weather conditions. To achieve accurate shooting, the thermal scope must be calibrated to ensure that the image aligns correctly with the point of impact of the rifle’s shot. Calibration is essential for precise targeting and accuracy.
Why Calibration is Crucial for Your Thermal Scope
Calibration ensures the thermal image aligns with your rifle’s trajectory. Improper calibration can cause misalignment, leading to missed shots.
Steps to Calibrate Your Thermal Scope for Accurate Shooting
1. Set Up Your Shooting Environment
Choose a stable environment with minimal wind and no extreme weather. Shoot at a known distance, ideally 100 yards or more.
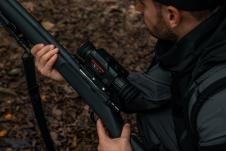
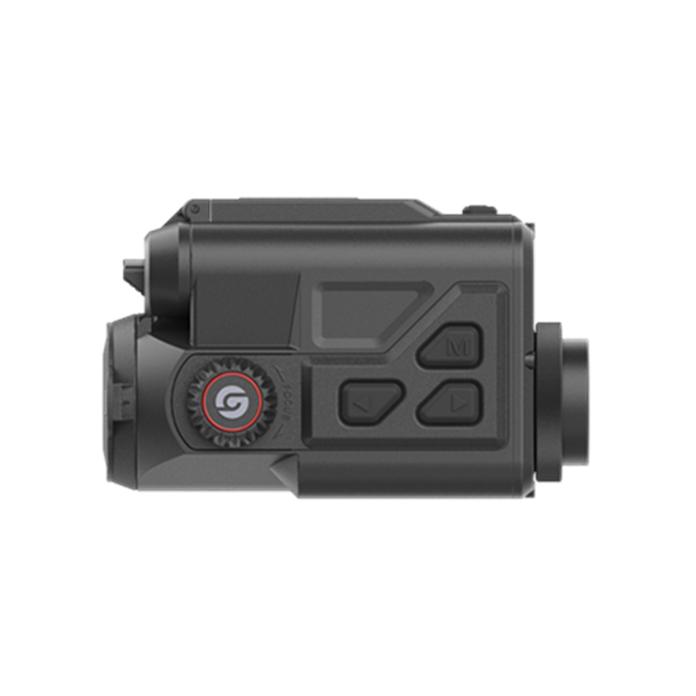
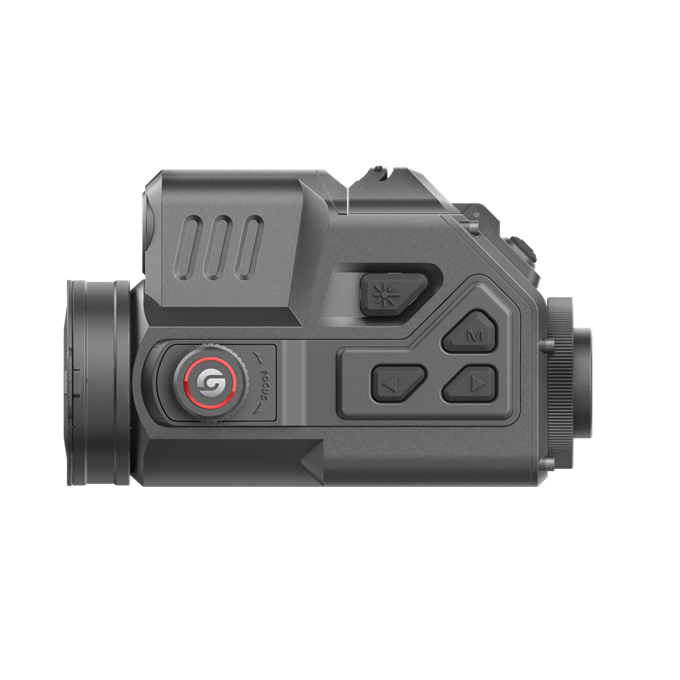
2. Mount the Thermal Scope Correctly
Ensure the thermal scope is securely mounted and aligned with the rifle.
3. Zero the Rifle
Zero your rifle using a traditional scope or iron sights, ensuring the point of impact aligns with the point of aim.
4. Adjust the Reticle in the Thermal Scope
After zeroing your rifle, place the reticle on the target and fire a shot. Adjust the reticle until it aligns with the actual point of impact.
5. Fine-Tune the Thermal Settings
Adjust the focus, contrast, brightness, and color palette to ensure a clear and accurate image in various conditions.
6. Fire a Test Shot
Fire a test shot using the thermal reticle as your aiming point and check the point of impact to see if the calibration is accurate.
Common Calibration Mistakes and How to Avoid Them
1. Incorrect Zeroing of the Rifle: Ensure your rifle is properly zeroed before calibrating the thermal scope.
2. Overlooking Environmental Factors: Avoid calibrating in windy or extreme conditions as these can affect results.
3. Improper Mounting of the Scope: Double-check the thermal scope mount for secure and proper alignment.
Conclusion
By following these calibration steps—setting up your shooting environment, mounting the scope correctly, zeroing the rifle, adjusting the reticle, and fine-tuning the thermal settings—you can ensure that your thermal scope performs at its best, giving you the precision needed for a successful shot. Regular calibration and maintenance of your thermal imaging scopes will guarantee that you’re always ready to hit your target, regardless of the environmental conditions or time of day. Whether you're a seasoned hunter or a tactical shooter, taking the time to calibrate your scope is a key step in improving your shooting accuracy.